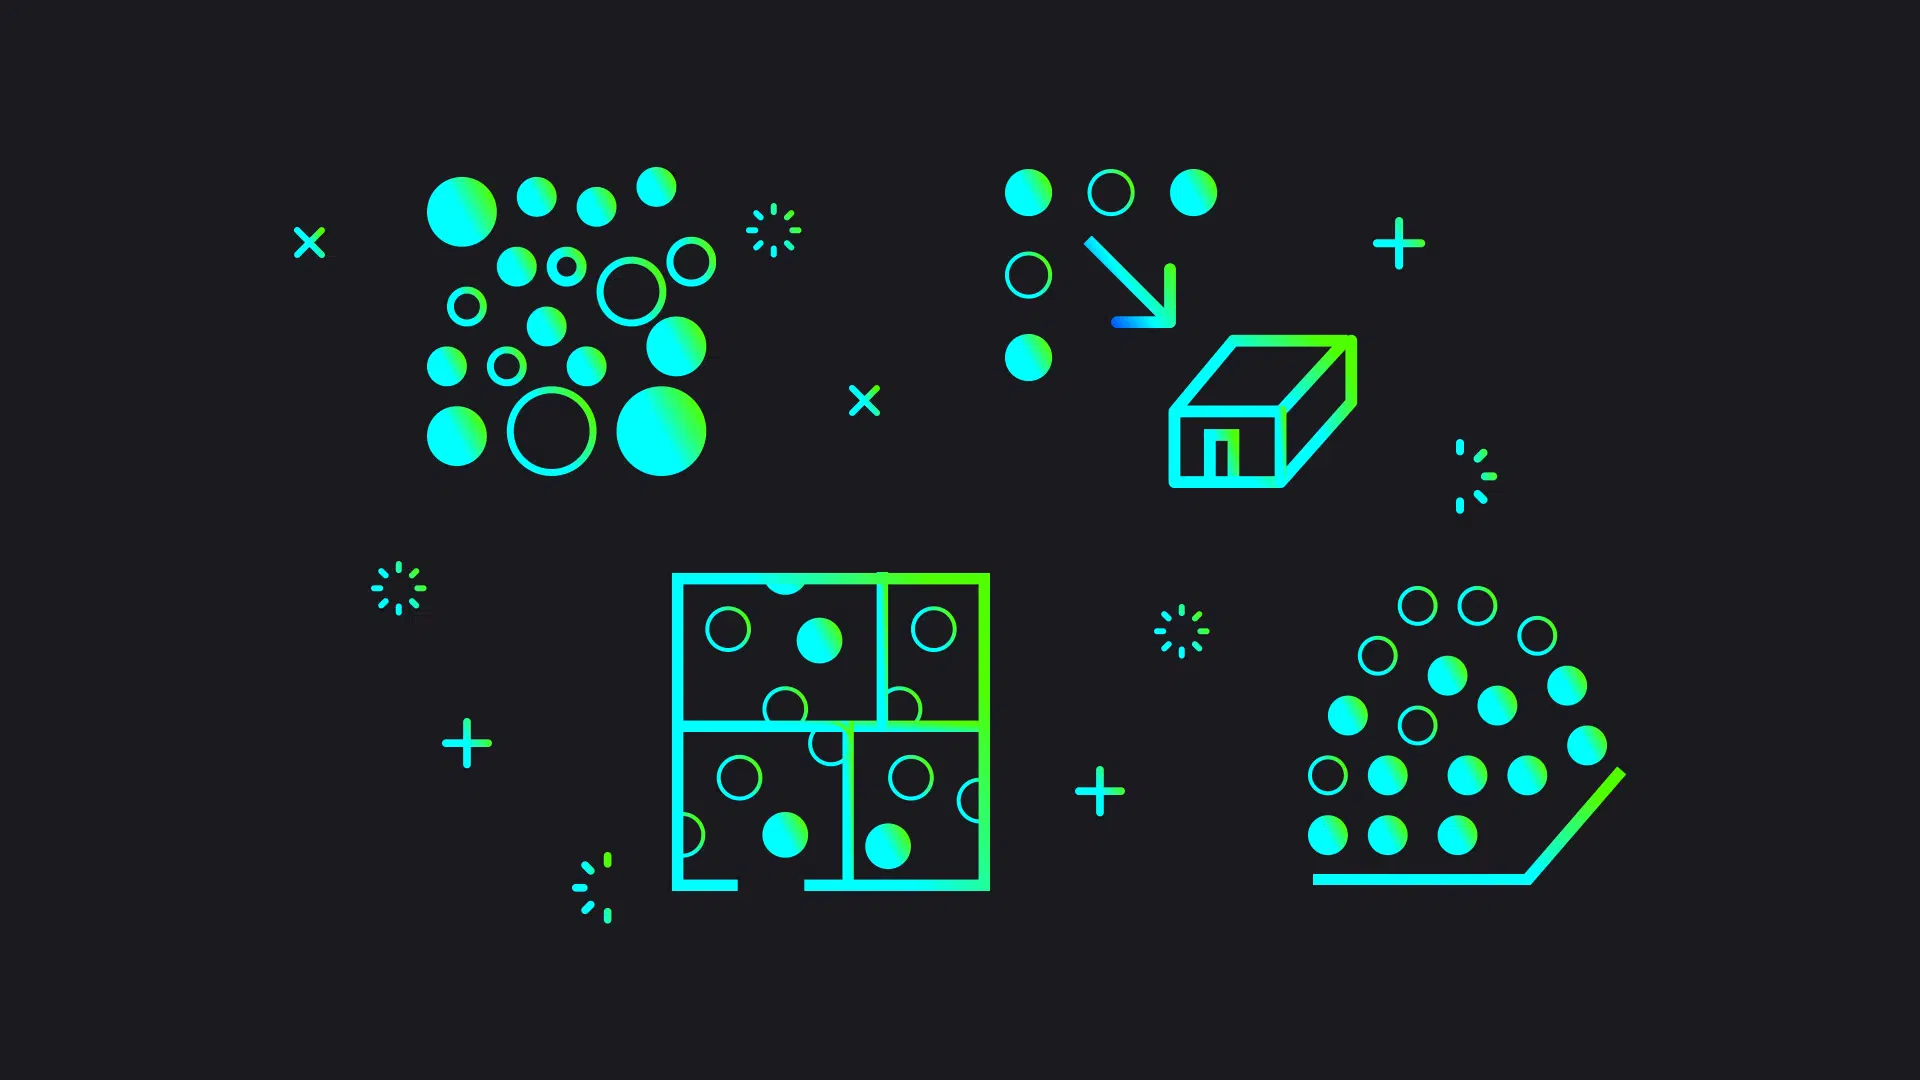
Learn how to import, process, explore, and model point cloud data in BricsCAD
A point cloud captures a significant amount of detail about an existing building, site, or structure. But having all that scan data is only useful if you know what to do with it.
Before you can start tracing, modeling, or creating documentation, you need to prepare the data and isolate the information that matters for your project. The workflow can look different depending on whether you’re creating a floor plan, building a terrain model, or reconstructing a building in BIM.
Our Point Cloud Essentials course takes you through the point cloud workflow, from the basics of importing scan data to creating CAD and BIM geometry from it.
What this course is about
Point cloud workflows sit somewhere between raw survey information and usable design data. The scan gives you the existing conditions. BricsCAD provides the tools to organize, visualize, section, trace, and model from that information.
The course introduces those tools in the context of a complete workflow. You’ll start by learning how point cloud data is processed and attached in BricsCAD before moving into the tools used to explore it, isolate areas of interest, generate drawings, create terrain, and reconstruct BIM geometry.
It also explains how the tools available to you can vary depending on your BricsCAD license, so you can understand which workflows are relevant to your setup.
1. Getting point cloud data into BricsCAD
Before you can work with a point cloud, BricsCAD needs to prepare the scan data for use.
The course introduces HSPC processing and cache creation. You’ll see how BricsCAD handles supported point cloud formats, metadata, units, and geographic coordinate system information. You’ll also learn how to process and attach point clouds and how cache locations affect the way large scan datasets are stored and accessed.
This matters when you share a point cloud with someone else. Instead of requiring every user to process the original scan data again, processed caches can be transferred and reused. The course explains how BricsCAD locates these files, what happens when a reference is missing, and how to reconnect point cloud data when drawings are opened on another computer.
2. Organizing and preparing your scan data
Once the point cloud is attached, the next step is making the dataset easier to work with.
The Point Cloud Manager provides tools for organizing and controlling the information contained in the scan. The course covers tools for detecting building information such as floors and rooms, as well as classifying points into groups that can be managed independently.
You’ll also learn the difference between crops, crop solids, and regions. A temporary crop can quickly isolate part of the point cloud, while crop solids provide more precise 3D control. Regions can be stored in the point cloud cache and reused across drawings.
These tools help reduce the amount of information you need to look at. Instead of constantly working with the entire scan, you can focus on the part of the building or site that is relevant to the task in front of you.
3. Exploring and understanding point clouds
Sometimes the first challenge with a point cloud is simply understanding what the scan contains.
The course introduces the different ways BricsCAD can display point cloud information, including render modes such as Default, Dollhouse, and Outline. You’ll also see how adjusting the number of displayed points can help balance visibility and performance when working with large datasets.
For scans that contain scan-position information, the Bubble Viewer provides another way to explore the dataset from individual scanning locations. This can help you move through the point cloud and inspect the existing conditions from the perspective of the original scans.
Color maps add another layer of information. Points can be displayed according to properties such as scan color, elevation, intensity, normals, or classification, helping you interpret the dataset and identify differences more easily.
4. Setting up sections, views, and alignment
Before you start drawing over scan data, the point cloud and your drawing environment need to line up correctly.
The course covers tools for sectioning point clouds and creating section planes, including workflows for generating sections based on detected building information. You’ll also learn how to activate section views so that the UCS and view align with the section you’re working on.
POINTCLOUDALIGN helps deal with point clouds that don’t match your current coordinate system. Depending on the workflow, you can either rotate the point cloud to the current UCS or create a UCS that matches the scan orientation.
These setup steps make the work that follows much easier. Once your view, working elevation, and point cloud are aligned, you have a reliable basis for creating geometry from the scan.
5. Turning scan data into 2D drawings
For many projects, the goal isn’t necessarily to create a complete 3D model. You might simply need a floor plan, elevation, section, or as-built drawing.
The course introduces POINTCLOUDTRACE for creating polylines directly from scan data. Different tracing methods allow you to work manually or use feature detection to identify geometry, while display options such as Outline mode can make the relevant scan information easier to see.
For section-based workflows, POINTCLOUDPROJECTSECTION can project point cloud information onto a section plane. It generates a raster representation of the visible point cloud while also detecting linework from the point cloud intersection.
Together, these tools provide different ways to move from scan data to usable 2D geometry, depending on how much automation and control your project requires.
6. Using point clouds for civil and survey work
Point clouds aren’t limited to buildings. They can also provide the starting point for terrain and infrastructure workflows.
The course shows how to generate a TIN surface from visible point cloud data in BricsCAD. You’ll learn how to simplify the resulting surface by filtering points according to radius and elevation criteria and how to manage the surface through the Civil Explorer.
For linear features, POINTCLOUDPROFILESWEEP generates geometry from point cloud data. This workflow is designed around features such as roads, curbs, sidewalks, and other infrastructure, allowing profile sections to be defined and matched against the scan.
This gives civil and survey users a way to move from captured site conditions into geometry that can be used for further design and documentation.
7. Moving from point clouds to BIM
For building projects, the course goes beyond tracing and introduces both automated and manual Scan-to-BIM workflows.
In the automated workflow, you’ll see how BricsCAD can detect floors and rooms from point cloud data before using that information to reconstruct building geometry. Tools such as POINTCLOUDFITROOMS and BIMINVERTSPACES can help generate BIM walls, slabs, roofs, and spaces from the scanned building.
The course also covers ways to refine that generated model. Direct Modeling and BIM tools can be used to correct spaces, wall heights, slabs, and connections when the reconstructed geometry needs cleanup.
Not every point cloud is suitable for automated reconstruction, so a manual workflow is included as well. You’ll learn how to isolate and align the data, create the required spatial structure, and build walls and slabs directly from the scan.
That means the workflow doesn’t depend on having a perfect dataset. You can choose between automation and more direct modeling depending on what the point cloud allows.
8. Exporting and sharing point cloud data
You don’t always need to send the entire point cloud to someone else.
The final part of the workflow shows how regions and visibility controls can be used to isolate the information you want to share. With POINTCLOUDEXPORT, you can then export the visible points to create a smaller, project-specific dataset.
The course covers exporting point cloud information to HSPC, PTS, and LAZ formats, giving you a way to prepare data for collaboration, archiving, or use in another part of the project workflow.
What you get out of it
By the end of the course, know how to take scan data from import through to CAD, civil, or BIM geometry, preparing and navigating large point clouds, isolating the information you need, creating sections and drawings, and choosing the right approach for each job.
There’s also a certificate of completion at the end of the course.
Final thought
Point clouds give you a detailed record of what already exists. The challenge is turning all that captured information into something you can work with.
This course takes you through that process in BricsCAD, helping you move from raw scan data to the drawings and models your project needs.
Try BricsCAD V26 for Free
You can explore every new feature for yourself with a free 30-day trial. Get BricsCAD V26 now.
Choosing BricsCAD for your team? As India’s authorized distributor, we provide genuine licenses, priority support, and transparent pricing. Write to hello@exceldesigntechnologies.com or click here to connect with us.